With the Optonet Vision Unit (OVU) you can set customised charts sequences to move from one chart to the next, establishing a testing routine without having to navigate back through the menus.
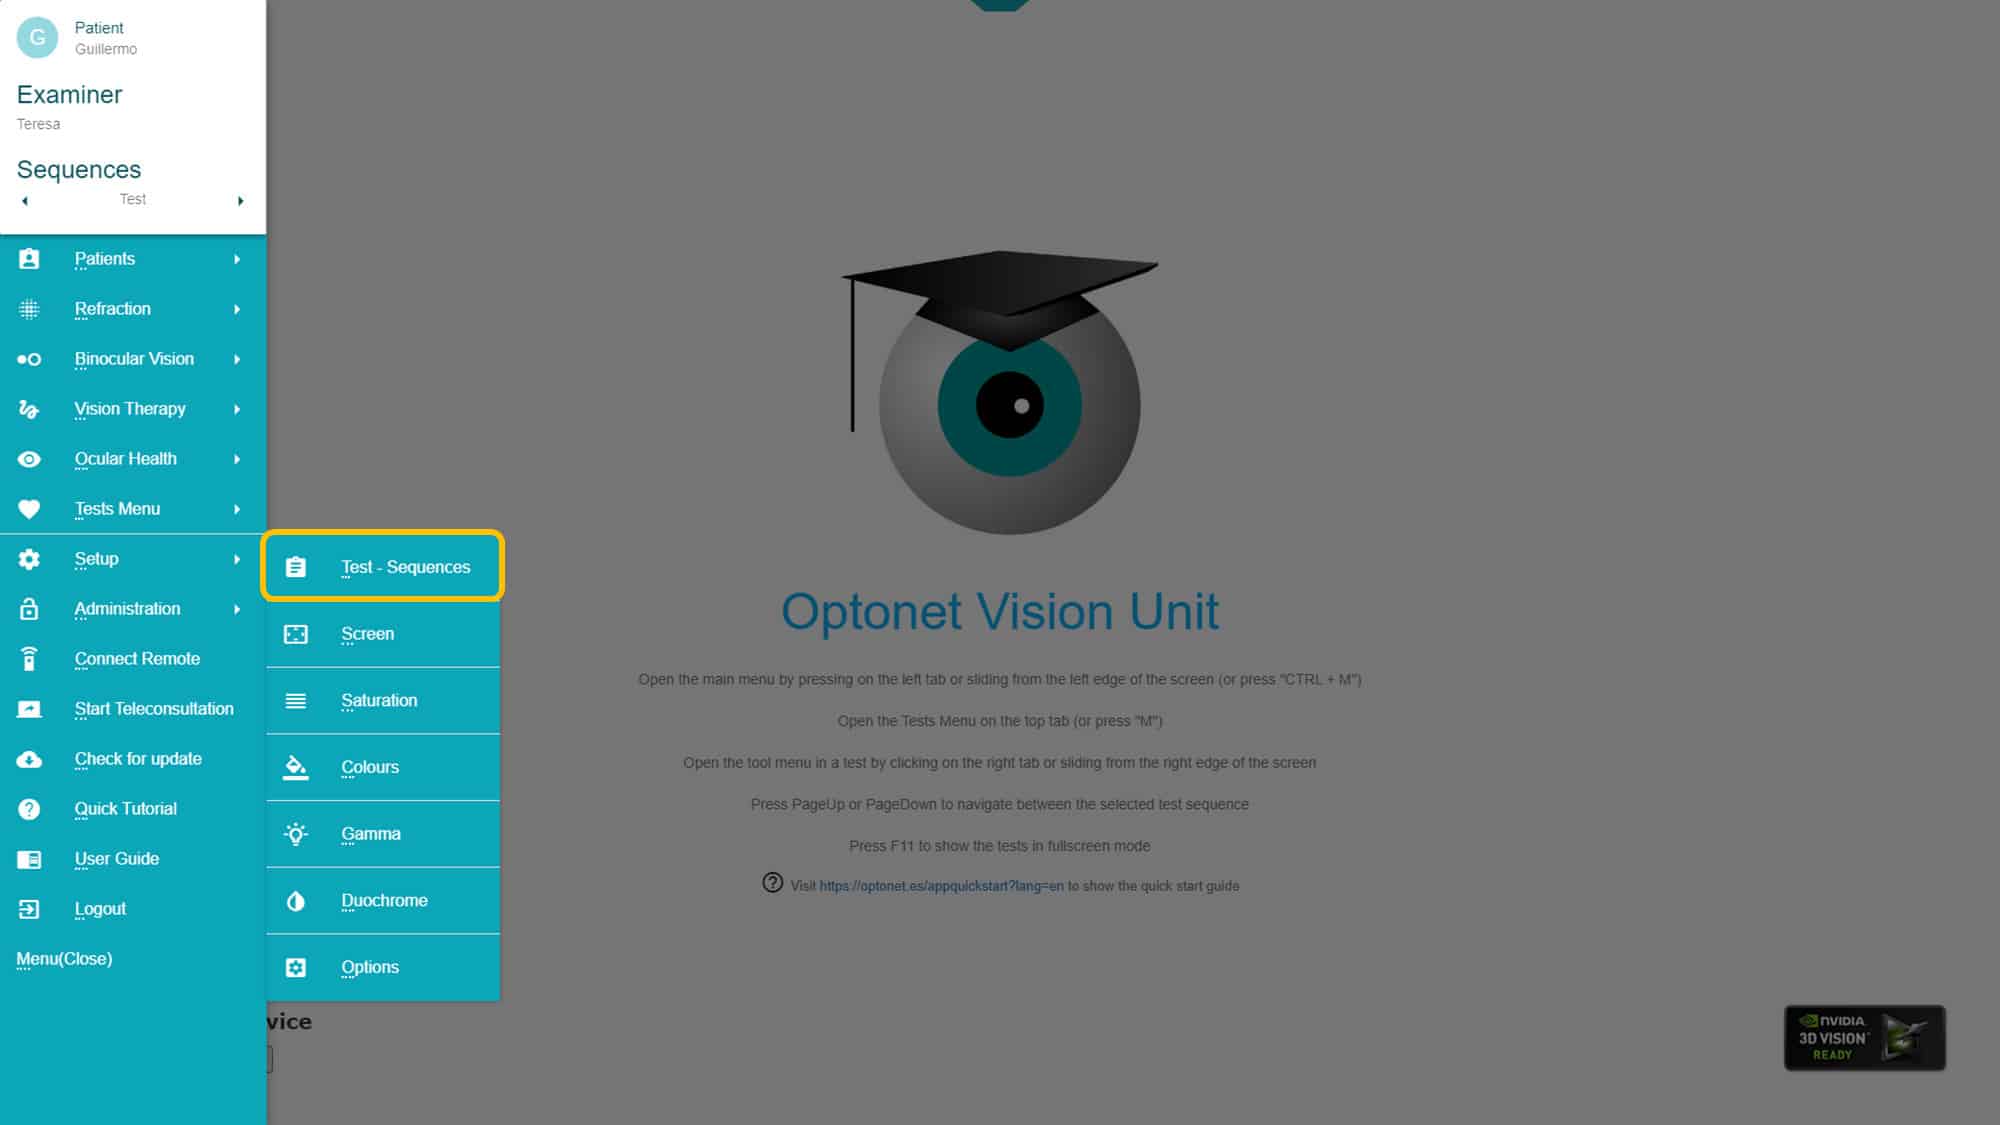
To define a sequence, open the Main Menu, go to Setup and then to Tests-Sequences. Let’s follow the process, step by step:
Creating a Sequence #
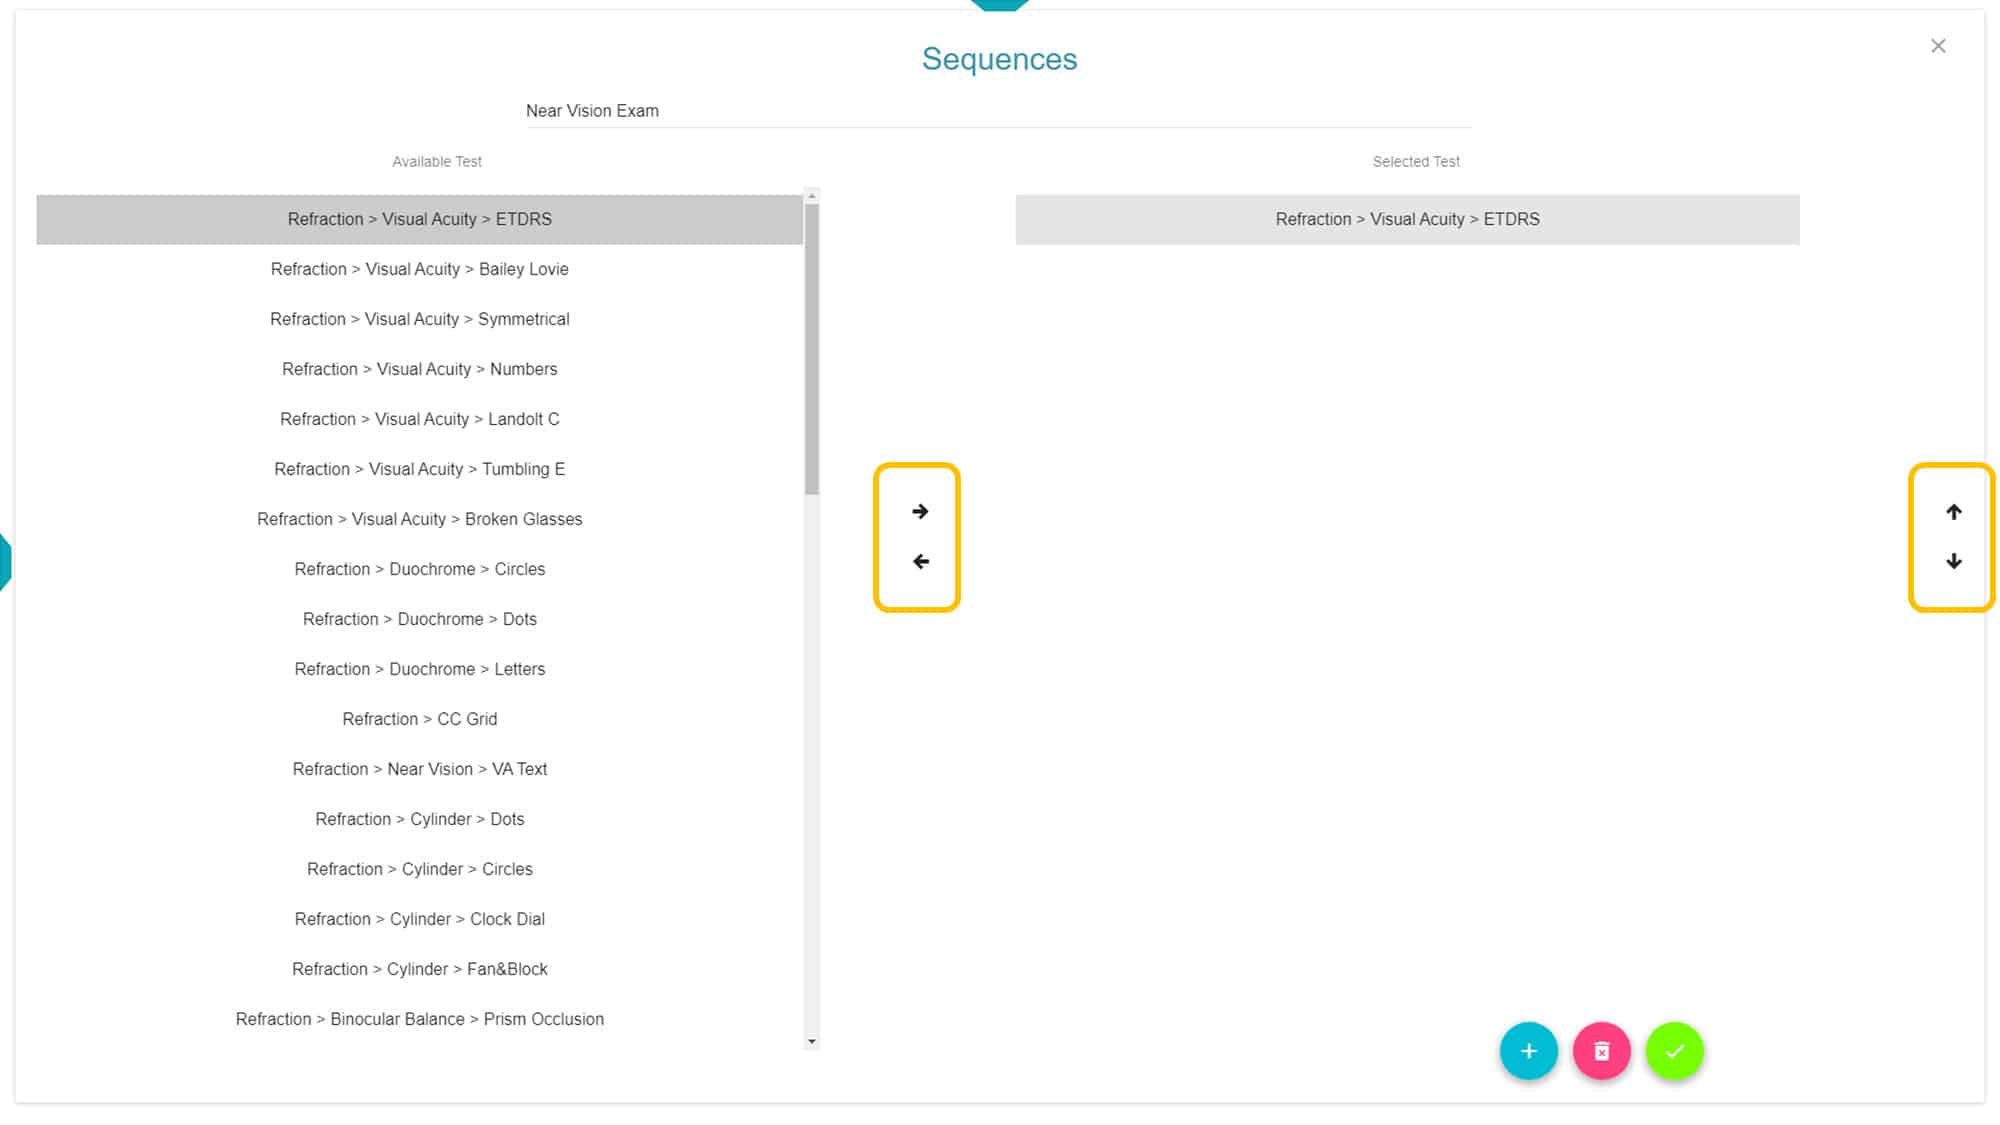
First, we need to name the sequence at the top of the page, or you can choose one from the list to modify. Select a chart from the list on the left, and then click on the right arrow to add it to the sequence on the right side.
To modify the order of charts in the sequence, select a chart and then move its position in the list using the vertical arrows on the right side. Remember to press the save button when you finish. The OVU allows the creation of different customised sequences.
Using a Sequence #
To use a sequence, open the Main Menu ⇾ Setup ⇾ Test-sequences, and select the sequence you want to use from the list. Then confirm your choice with the green button (lower right corner).
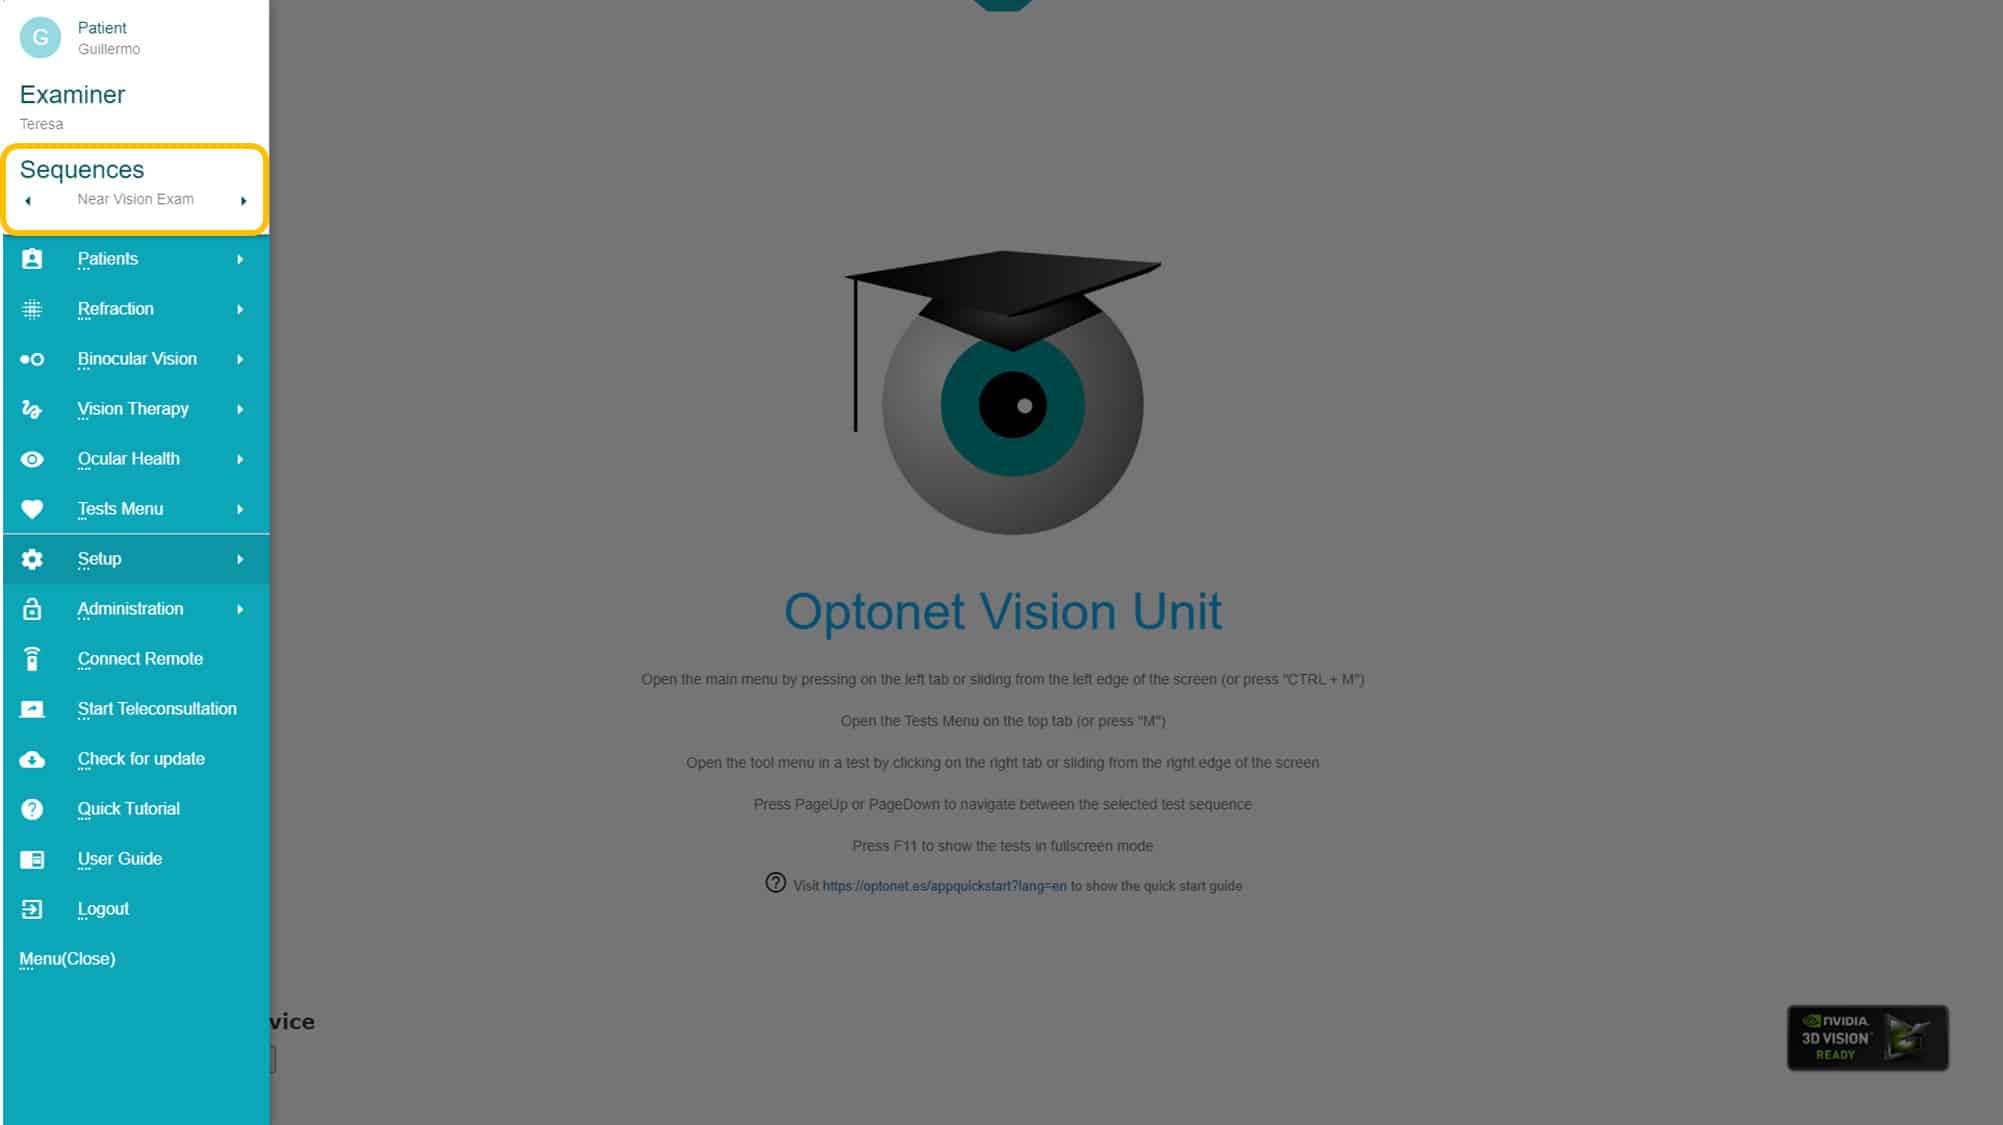
If you open the Main Menu, you can see the name of the chosen sequence at the top. To move to the next or previous chart in the sequence, there are three options:
1. Keyboard: Use the “Page Up” and “Page Down” keys.
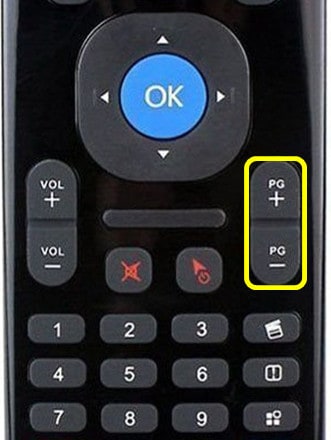
Mini-Keyboard
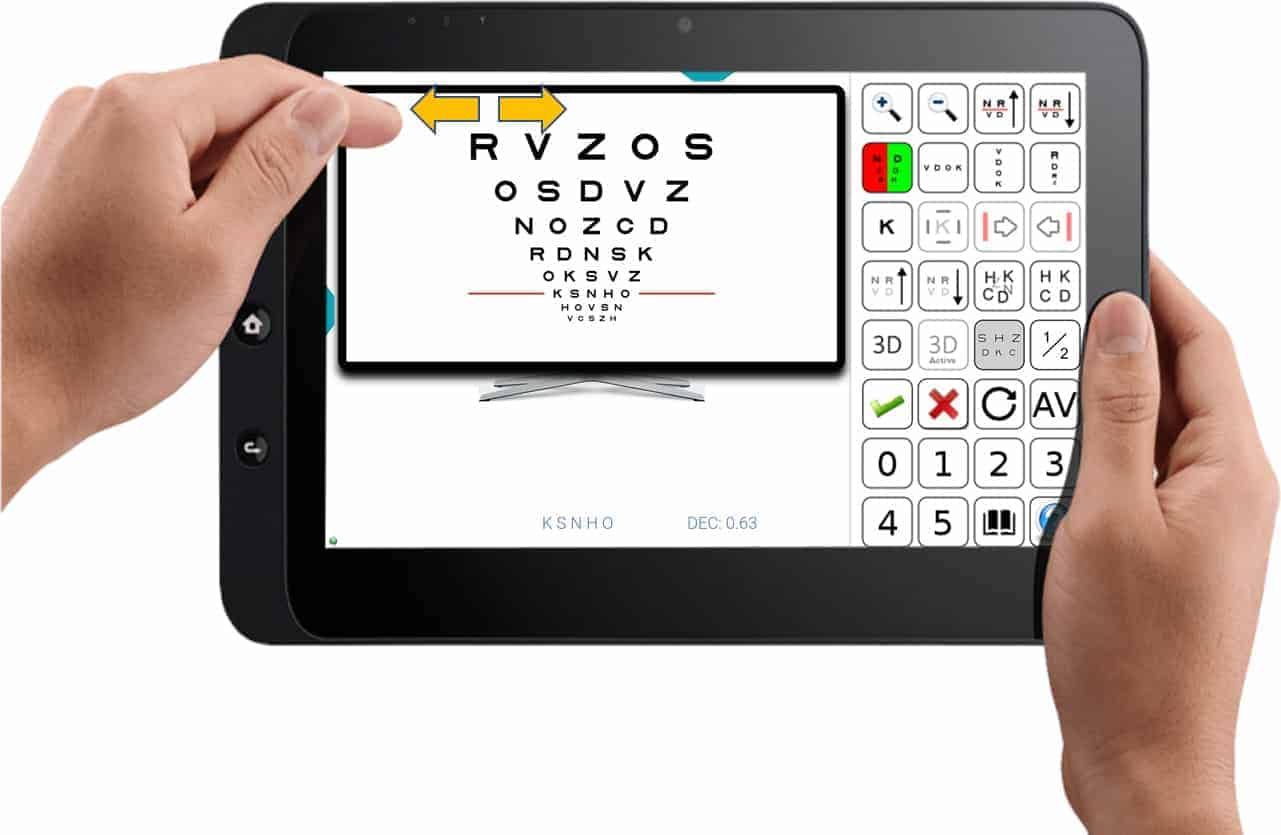
2. Tablet/Phone Gestures: Slide your finger on the top left quadrant of the screen: to the left to move to the next chart, or to the right to go back to the previous one.
3. Main Menu: Small arrows on both sides of the sequence name allow you to move to the next or previous chart in the sequence.