1. Box Numbers #
Before beginning the visual measurements, it is important to verify that the Vision Unit is correctly calibrated. Therefore, you should check the Screen Calibration Setup to ensure that the correct figures (in millimetres) appear in the boxes for “horizontal segment width” (1) and for the viewing distances between the patient and the screen (2 & 3). The accuracy of these figures significantly influences the values obtained.

2. Letter Measurement #
The Optonet Vision Unit also provides a feature to confirm the accuracy of the calibration data entered. To utilize this feature, open a VA optotype with letters and then isolate a single letter by pressing “L” (or the arrow ⇾) on the keyboard. In this example, we have selected a letter corresponding to a visual acuity (VA) of 6/60 (20/200), with the VA value displayed in the lower right corner.
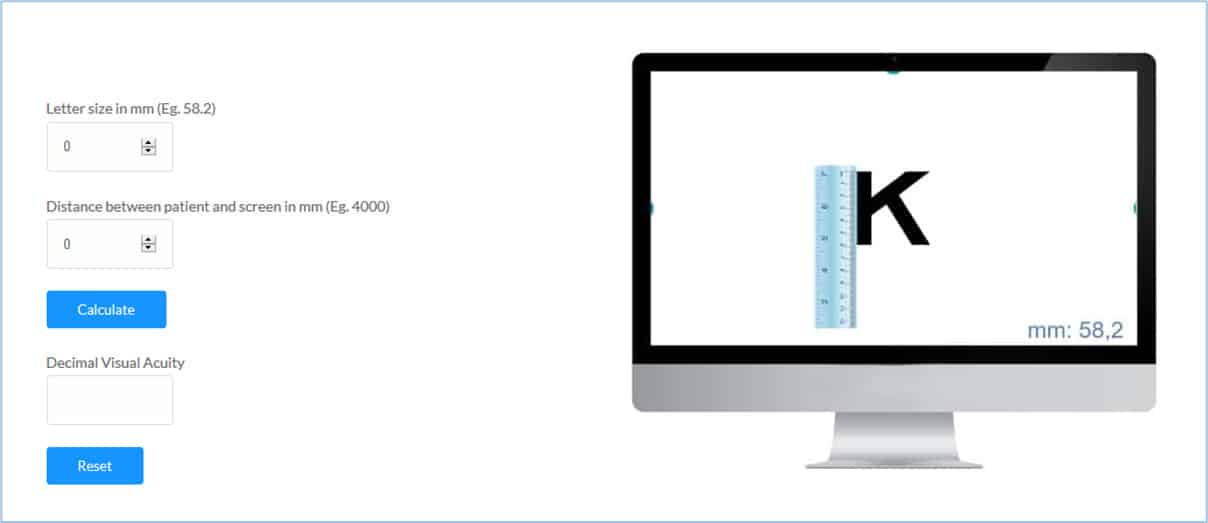
By repeatedly clicking on the VA score with the mouse (or pressing the letter “W” on the keyboard, or the VA icon on the tablet Remote Controller), the VA score will cycle through different notations: logarithmic, VAR, Decimal, Snellen (feet & meters), and finally the height (in millimetres). This letter measurement should match the indicated VA shown for the established viewing distance. You can measure the height with a small ruler placed on the screen (letters with a vertical stroke are easier for this task).
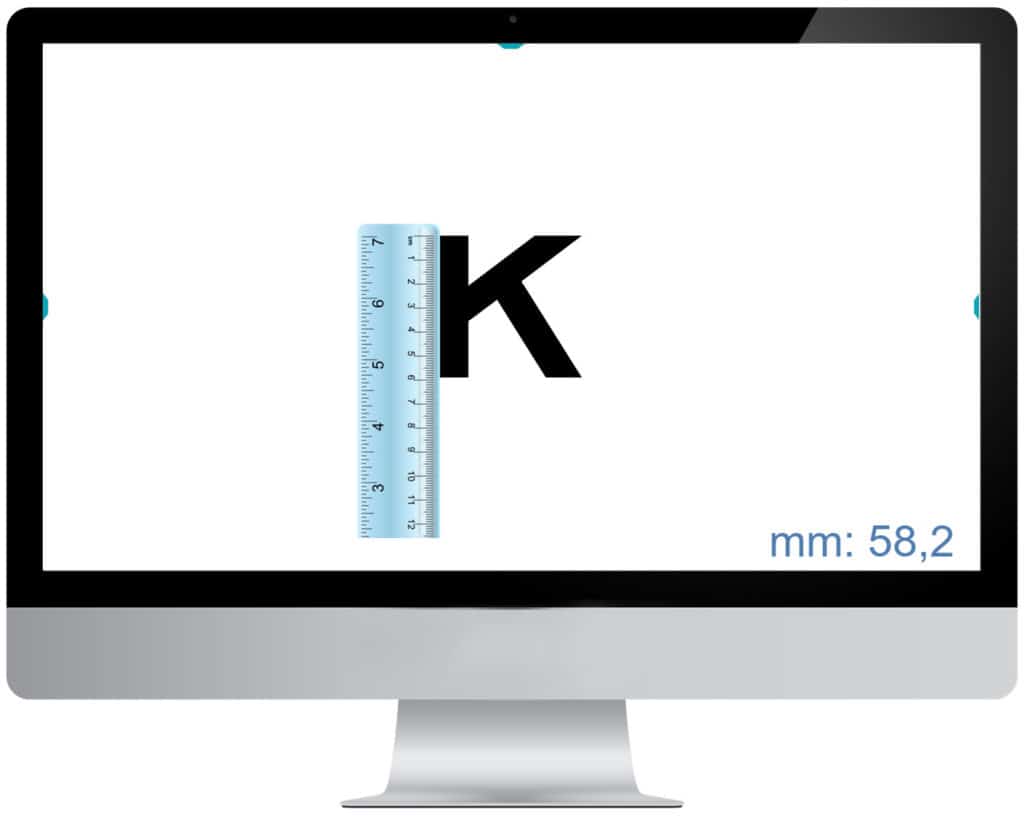
This process confirms that we have correctly entered the measurement of the letter height (H) in the initial calibration screen.
3. Viewing Distance Verification #
To verify if the viewing distance has been correctly indicated, follow the next link and enter the height of a letter corresponding to 6/60 VA, along with the viewing distance of your testing room in millimetres. This will help you confirm that all the calibration parameters introduced are correct.
https://optonet.online/charts-calibration/